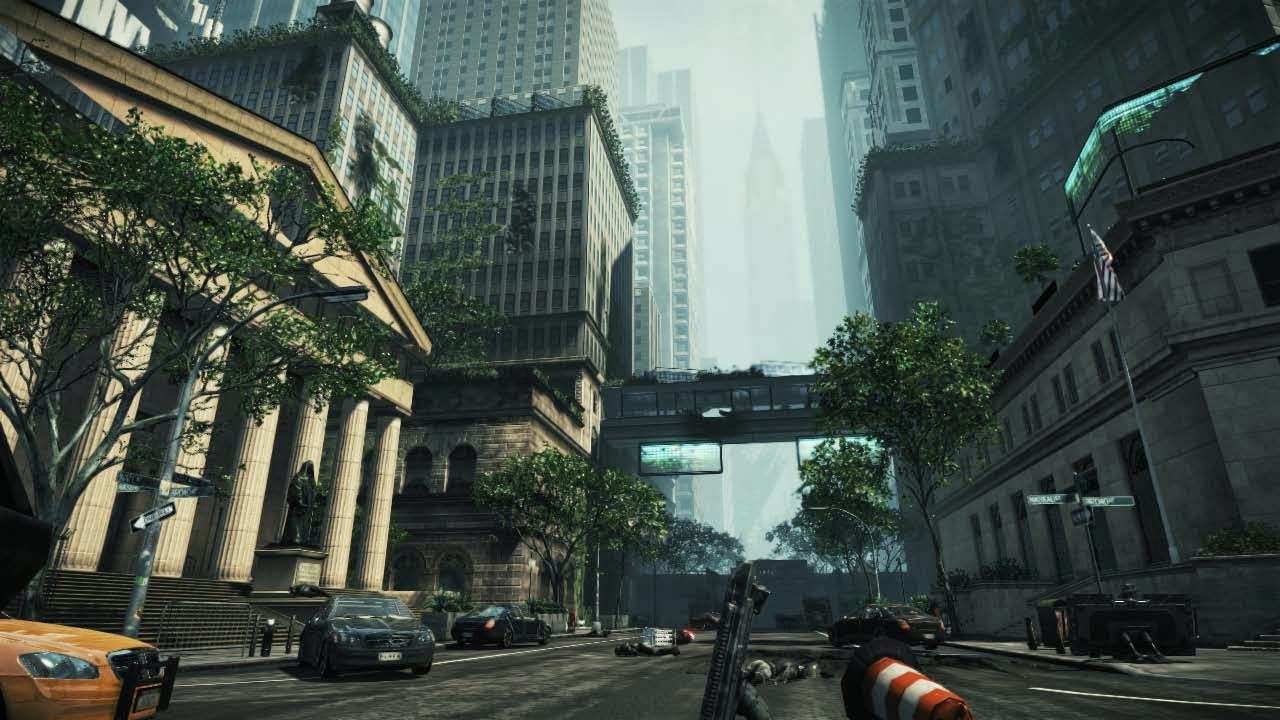
So in my last blog I mentioned that I would be focuses on a few lighting effects that can make your games, 2D art and even your maya scenes look awesome! So basically in this blog I'm going to explain what a few of these lighting effects are and teach you how to create a few, in Maya and photoshop (more than likely I'm just going to end up teaching you how to create bloom in both Maya and Photoshop and potential curl in a dark corner and cry when the others don't turn out right). Also if I'm nice i might teach something else that's really cool, but not necessarily a lighting effect although it does use some of the topics talked about in my last blog (so who knows I may teach it).
Lighting Effects
- Radiosity
- Global Illumination
- HDR/Bloom
Radiosity
- Generate Model
- Compute Form Factors
- Solve Radiosity Matrix
- Render
Global Illumination

Global Illumination is the general term given to a group of computer graphics algorithms that are designed to add realistic lighting ti a 3D scene, where these algorithms take into consideration both the light coming directly from the source and the light rays from the source that are reflected off other surfaces. Some of the algoritms taken into consideration when doing Global Illumination are:
- Ambient Occlusion
- Radiosity
- Ray Tracing
- Photon Mapping
- Among others
| Advantages | Disadvantages | |
| Radiosity: | - Very realistic lighting for diffuse surfaces - Conceptually simple and easy to implement - Easy to optimise with 3D hardware |
- Slow - Does not handle point sources well - nor shiny surfaces - Always over complicated and poorly explained in books |
| Monte Carlo Method: | - Very, very good results. - Can simulate pretty well any optical phenomenon |
- Slow - Slightly difficult - Requires some cleverness to optimise - Always over complicated and poorly explained in books |
Direct Illumination
| Advantages | Disadvantages | |
| Ray Tracing: | - Can render both mathematically described objects and polygons - Allows you to do some cool volumetric effects |
- Slow - Very sharp shadows and reflections |
| Shadow Volumes: | - Can be modified to render soft shadows (very tricky) | - Tricky to implement - Very sharp shadows - Polygons only |
| Z-Buffer: | - Easy to implement - Fast (real-time) |
HDR/Bloom
Bloom( often refered to as light bloom or glow) is an effect in computer graphics used in video games, HDR and demos to recreate an effect of real-world cameras. The Bloom effect creates a type of fringe of light that extends from the borders of bright areas in an image or scene, that is used to contribute to the illusion of an extremely bright light that overwhelms the camera or eye.BASIC THEORY
The basic theory behind Bloom is that lenses can never focus perfectly and no matter what will convolve the incoming image. Normally this distortion is unnoticeable however an intensely bright light source draws attention to these imperfections. This results in the bright light in the image will appear to bleed into the surrounding areas.
To create Bloom you need to remember that it is a multi-pass rendering algorithm that first has to render the original scene, then find all the bright points, blurs them and then adds them back to the original scene.
4 Stages of Bloom:
(1) (2) (3) (4)
_______ ______
| | ____ ____ | |
| scene | --> |Tone| ---> |Blur| ----> ((+)) ---> | BLOOM |
|_______| |____| |____| ^ |______|
| downsize downsize |
| |
|____________________________________|
- Render 3D scene to off-scene Framebuffer (FBO)
- Highlight Bright Areas (tone-mapping) (FBO_BP)
- Apply a Gaussian Blur to FBO_BP (FBO_BLUR)
- Final Image = FBO_BLUR + FBO
Tutorial:
So since this blog post ended up longer than I thought it would I'm going to do my lighting and effects tutorial in my next blog. Which you will be able to find Here, when its done.


stfu lol
ReplyDelete